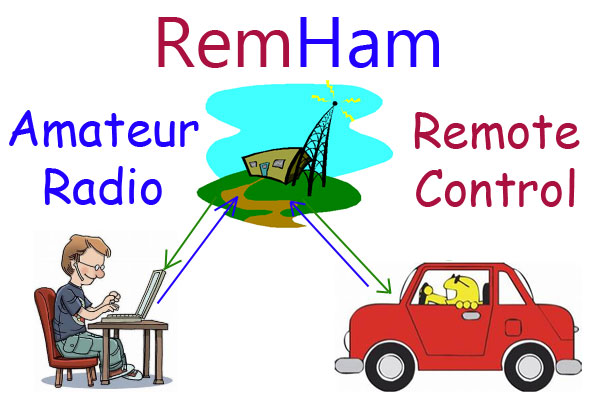
Home
![]()
.
Configuring the RemHam ServerThis page is under construction, but is hopefully reasonably complete!
Starting and Configuring the RemHam ServerTo start RemHam in Server Mode, use the -s option when starting RemHam from the command line, or click on the RemHam Server Mode shortcut that is created during the installation procedure.Once RemHam is started in server mode, the server mode menus and functions will be active. Adding Remote Users Before a RemHam client can connect to a RemHam server, you must add at least one remote user. Use the "File" menu, and select "Add / Edit a Remote User...". Usernames are case insensitive, however the password IS case sensitive. If the remote user is allowed to transmit, check the "Transmit Allowed" checkbox. Server Settings Menu
Network Access to RemHamIf you want to access your RemHam server from the Internet, it will be necessary to, in your router, forward UDP ports 7802 and 7803 to the computer running the RemHam server.If you allow access to your RemHam server from the Internet, be sure to use a good, hard to guess password. Connecting RemHam to the Transmitting EquipmentUltimately, RemHam must be able to control the transmitter. The exact connection will vary, depending on the equipment in use. Typically, there is some kind of master Transmit/Receive switch or connection. Many pieces of modern, computer-based or computer-interfaced equipment will allow T/R control via a virtual com port.Controlling Modern Equipment such as SDRsRemHam can control modern equipment through a Virtual com Port. RemHam asserts DTR when transmitting. Equipment such as the Flex series of SDR units and many others can accept transmit/receive control via a Virtual com port. No external hardware com port would be needed with this type of connection.Controlling equipment that requires a physical, wired connection for T/RFor equipment that requires physical, wired Transmit/Receive control, RemHam uses a standard hardware COM port for external control. If the computer does not have a COM port, one can be added using a USB COMM port. These work very well, and are not expensive.A simple interface should be constructed between the "raw" RS232 COM port output and the transmitter equipment. A relay control circuit (shown below) is generally the most practical way to accomplish this. A solid state control (example: an open collector transistor) can also be used if the transmit control uses low voltage and current, and is ground referenced. Since the RS232 output swings from approximately -12v to +12v, the RS232 output can drive the base of a transistor through a diode and a resistor.
Note: Only the RS232 control lines (CTS, RTS, DTR, etc) are used. The
RS232 data lines are not used by RemHam.
Here are some RS232 to PTT interface circuits. I use the delay version
|